Why I Fell in Love with Lasagna Gardening (And You Will Too!)

Here's how I transformed my stubborn clay soil into a thriving garden paradise using nothing but kitchen scraps, cardboard, and a little patience.
What Exactly is Lasagna Gardening?
I'll be honest - when I first heard about "lasagna gardening," I thought someone was pulling my leg. But it turns out this method is brilliant in its simplicity. You're basically making compost directly in your garden bed by layering brown materials (like leaves and cardboard) with green materials (like kitchen scraps and grass clippings).
Think of it like making an actual lasagna - you layer noodles, sauce, cheese, repeat. Except here you're layering dry stuff, wet stuff, dry stuff, wet stuff. The magic happens when all these layers break down over time, creating the richest, most nutrient-dense soil you've ever seen.
And here's the best part - you never have to till, dig, or remove a single shovelful of that awful soil you're dealing with. The earthworms and beneficial microbes do all the heavy lifting for you.
Why I'll Never Go Back to Traditional Gardening
It Saves My Back (And My Sanity)
Let me tell you something - I'm not 25 anymore. The thought of spending an entire weekend breaking up clay soil with a pickaxe makes my back hurt just thinking about it. With lasagna gardening, the heaviest thing I lift is a bag of leaves from my neighbor's curb.
My Plants Have Never Been Happier
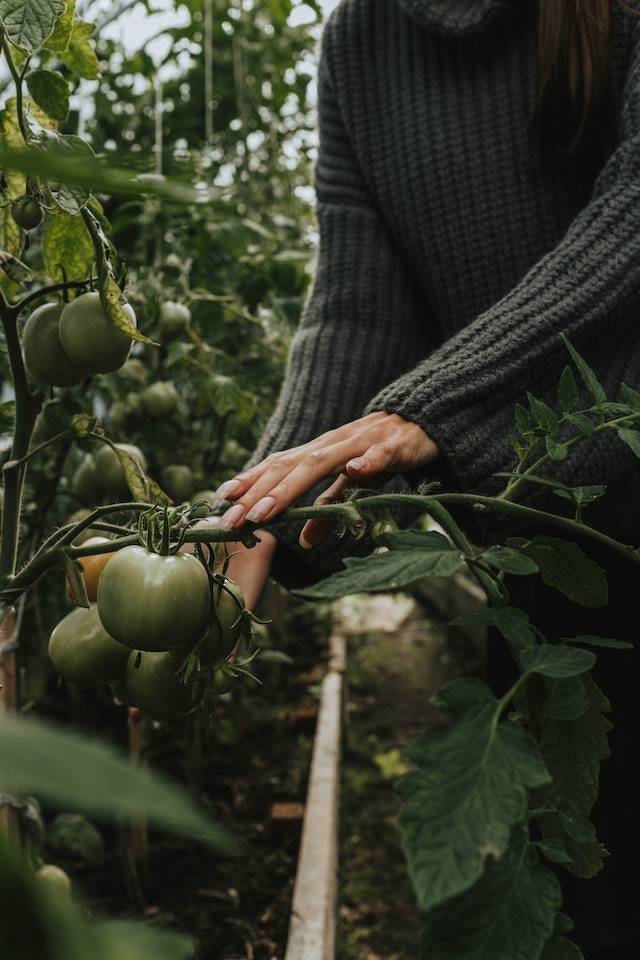
I used to struggle to grow anything in my clay soil. Now? My tomatoes are so happy they practically sing. The soil stays moist but never waterlogged, it's packed with nutrients, and the earthworms have turned it into this beautiful, crumbly texture that my plants absolutely love.
It's Like Getting Paid to Garden
Seriously, I haven't bought a bag of compost or soil amendment in three years. I use kitchen scraps that would have gone in the trash, leaves that my neighbors are happy to give me, and cardboard from all my online orders. It's gardening on the ultimate budget.
Mother Nature Does the Work
This is probably my favorite part - I'm working WITH nature instead of against it. The same decomposition process that happens in the forest is happening in my garden bed. All I have to do is provide the materials and let the soil organisms do what they do best.
When Should You Start? (Timing Matters!)
Fall is Your Friend
If you can wait, fall is absolutely the best time to build a lasagna garden. I build mine in October, and by spring, I have the most incredible planting medium you've ever seen. It's like Christmas morning when I pull back that top layer and see what the earthworms have been up to all winter.
My fall routine: October - build the layers, November through March - let nature work its magic, April - start planting in what basically looks like chocolate cake.
Can't Wait Until Spring? No Problem!
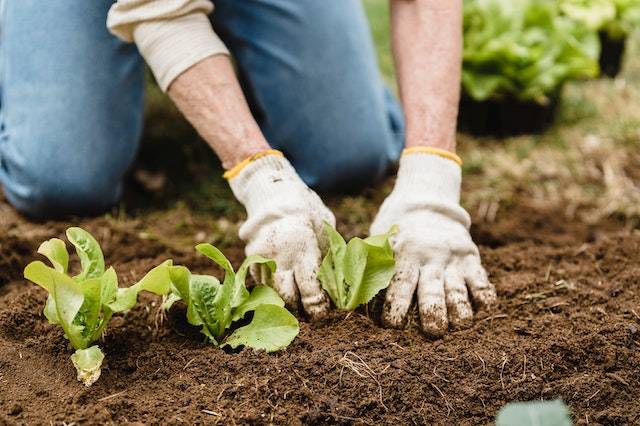
I get it - gardening season hits and you want to plant NOW. You can absolutely build a lasagna garden in spring and plant immediately. Just add a thick layer (3-4 inches) of finished compost or good potting soil on top and plant in that layer only. The materials underneath will break down throughout the season.
Just don't plant directly into fresh kitchen scraps or you'll end up with some very unhappy plants. Trust me on this one!
Finding the Perfect Spot
I learned this the hard way, but location really does matter. You want somewhere that gets good sun (6-8 hours for veggies, 4-6 for herbs), is close enough to your house that you'll actually maintain it, but far enough away that any temporary composting smells won't drift into your windows.
Also, make sure you can reach it with your hose. These layers need consistent moisture to break down properly, and hauling watering cans gets old really fast.
Gathering Your "Ingredients"
This is where lasagna gardening gets fun - you become a material scavenger. I keep a mental ratio of about 4 parts brown (carbon) materials to 1 part green (nitrogen) materials. Don't stress too much about being exact - nature is pretty forgiving.

Brown/Dry Materials (The Base Players)
These are my workhorses - dry leaves are absolute gold (I actually ask my neighbors to save them for me), shredded newspaper, cardboard from packages, straw if I can get it. Basically anything brown and dry that will break down over time.
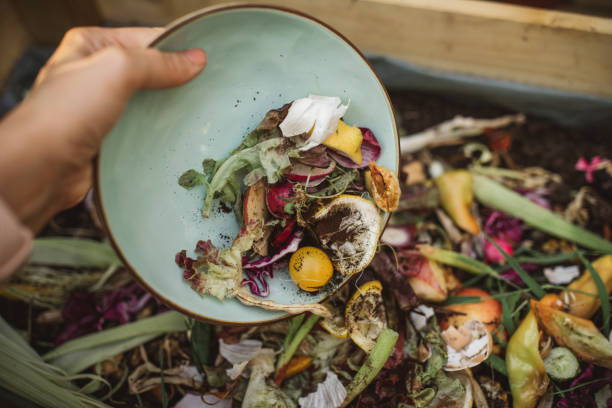
Green/Moist Materials (The Activators)
This is where your kitchen scraps shine - vegetable peels, coffee grounds, fresh grass clippings. These provide the nitrogen that gets everything cooking. Just avoid meat, dairy, and oils - they attract unwanted visitors and can smell terrible.
Building Your Garden Lasagna (Step by Step)
Step 1: Lay Down the Law (With Cardboard)
This is crucial - you need a solid base layer of cardboard or about 8 sheets of newspaper. This is what kills the grass and weeds underneath. I overlap everything by at least 6 inches because weeds are sneaky little things that will find any gap you leave them.
Step 2: Start Layering Like Your Life Depends on It
Here's where it gets fun. I start with about 6 inches of brown materials - usually leaves if I have them, or shredded newspaper. Then I add about 1-2 inches of green materials - kitchen scraps, grass clippings, whatever I've got.
I keep going until my pile is about 2 feet tall. Don't worry, it's going to settle down to about a foot once everything starts breaking down.
Step 3: Water Like You Mean It
Each layer needs to be moist - think wrung-out sponge, not swimming pool. This is what activates all those beneficial microbes that are going to transform your pile into black gold.
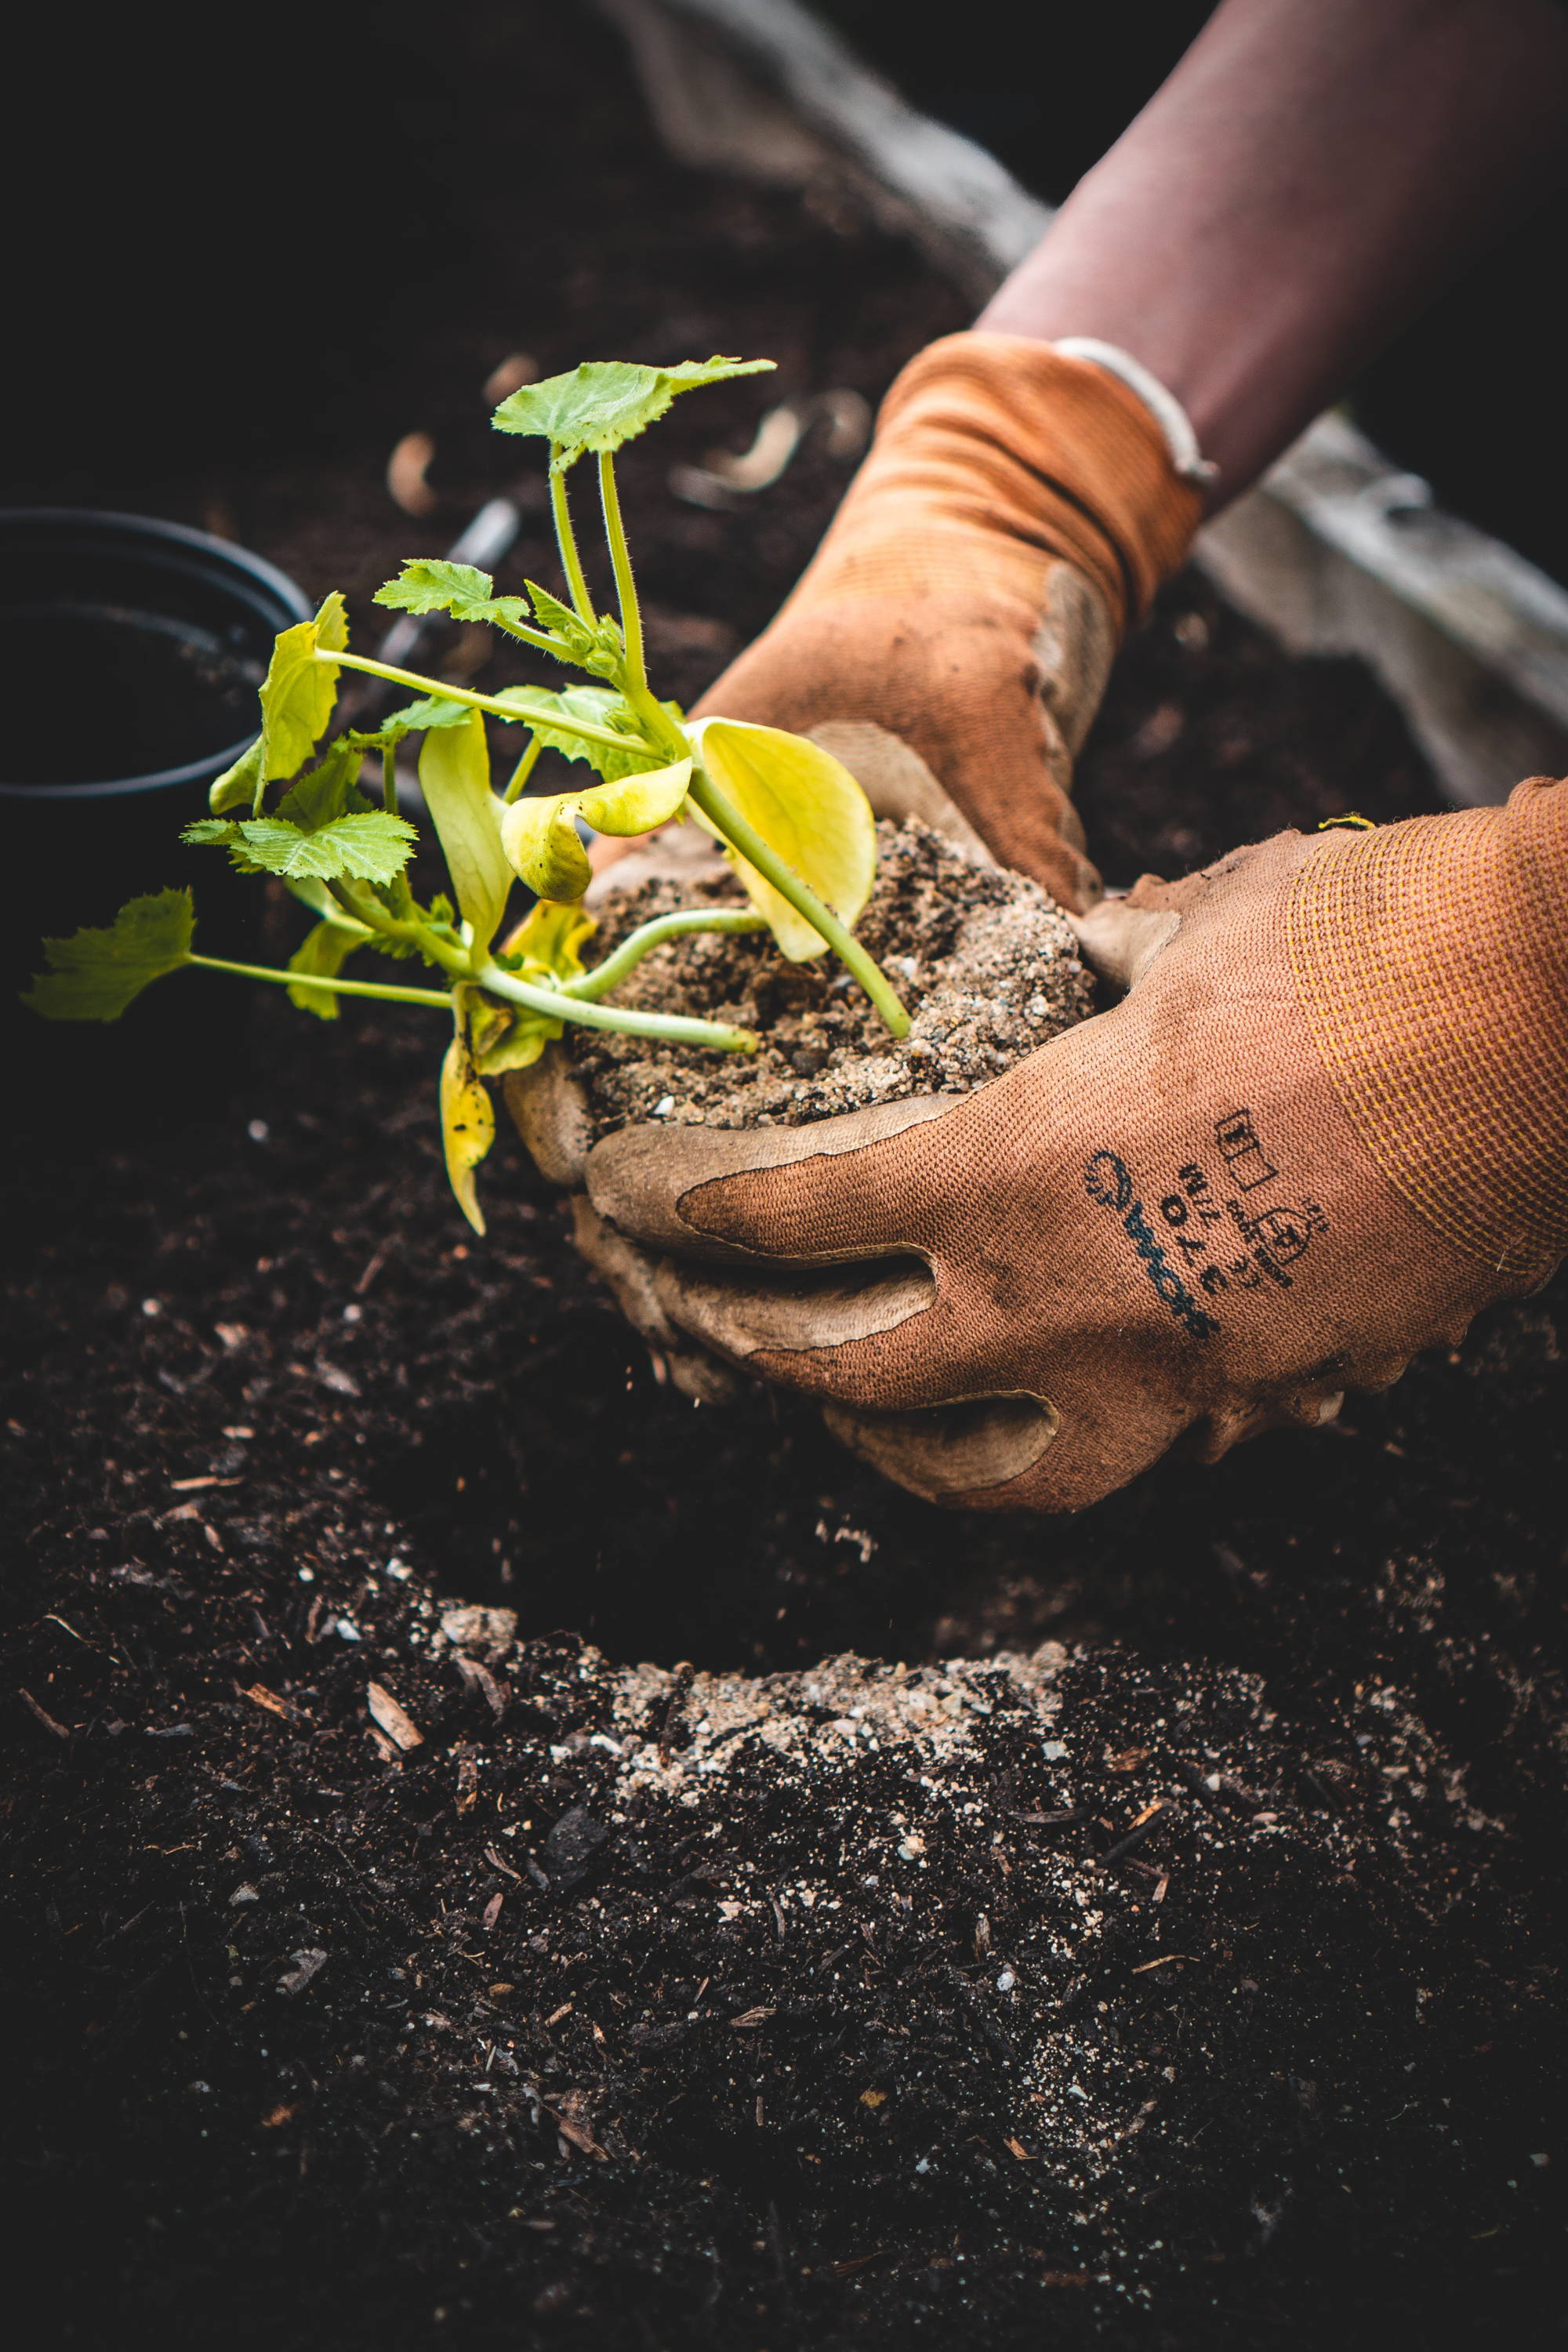
Step 4: Top It Off
I always finish with 2-3 inches of something that's already broken down - finished compost, good topsoil, or aged manure. This gives me something to plant in right away if I want to.
Want to Supercharge Your Results?
While you can absolutely build an amazing lasagna garden with free materials, I've found that adding some premium amendments can really speed things up and boost results.
Worm Castings: Nature's Miracle Worker
I sprinkle worm castings between my layers now, and wow - what a difference! They're like little packets of beneficial microbes that supercharge the decomposition process. Plus, they add nutrients in a form that plants can use immediately.
All-in-One Soil Magic
Lately, I've been using Ancient Soil blend as my top layer. It's got worm castings plus sea kelp, biochar, bat guano, and volcanic rock dust - basically everything my plants could want in one bag. My vegetables have never looked better.
Keeping Your Lasagna Garden Happy
During Growing Season
The beauty of this system is that it's basically self-maintaining. I just keep adding materials as I get them - more kitchen scraps, fallen leaves, grass clippings. I pull the occasional weed (though there aren't many thanks to that cardboard base), and I water when things look dry.
Seasonal Care
Spring is when I add my final compost layer and start planting. Summer is for enjoying the harvest and continuing to add materials. Fall is prime building season - all those leaves! Winter is when I let everything rest and decompose.
When Things Go Wrong (And How to Fix Them)
Eww, What's That Smell?
If your garden starts smelling like something died, you've probably added too much green material or it's gotten too wet and gone anaerobic. Add more brown materials and turn it gently to get some air in there.
Nothing's Happening!
If your materials aren't breaking down, they're probably too dry or you need more nitrogen. Water thoroughly and add some grass clippings or kitchen scraps to get things moving.
Weeds Are Taking Over
This usually means there were gaps in your cardboard base. Add more cardboard or thick layers of newspaper to problem areas.
The Science Behind the Magic
Here's what's actually happening in your lasagna garden (and why it works so incredibly well): You've created the perfect environment for soil life to thrive. Bacteria break down the nitrogen-rich materials, fungi work on the carbon-rich stuff, and earthworms eat everything and turn it into the most nutrient-dense castings imaginable.
Meanwhile, all that organic matter is holding onto water like a sponge (up to 20 times its weight!), creating air pockets for root growth, and slowly releasing nutrients throughout the growing season. It's basically like having a time-release fertilizer that lasts all year.
Your 4-Week Getting Started Plan
Week 1: Pick your spot, measure it out, start collecting cardboard and materials
Week 2: Gather your browns and greens - hit up neighbors for leaves, save kitchen scraps
Week 3: Build day! Lay cardboard, start layering, water everything down
Week 4: Add your final layer, plan what you want to plant, set up watering
Why This Changed My Whole Approach to Gardening
I used to think gardening meant fighting against my soil, spending money on amendments every year, and working my butt off just to grow a few decent tomatoes. Lasagna gardening taught me that I could work WITH nature instead, use materials that were basically free, and create soil that just keeps getting better year after year.
Three years in, and my soil is so rich and fluffy that I can dig in it with my bare hands. My plants barely need watering even in our hot summers. And I'm spending a fraction of what I used to on garden inputs.
Whether you're dealing with terrible soil like I was, trying to garden on a budget, or just tired of all the backbreaking work that traditional gardening requires, lasagna gardening might be exactly what you're looking for.
Start small - maybe a 4x4 bed to test it out. I guarantee that once you see what happens, you'll be hooked. Your back will thank you, your wallet will thank you, and your plants will absolutely love you for it.
Ready to build the soil of your dreams?
These organic amendments will take your lasagna garden from good to absolutely incredible.
Get Worm Castings Try Ancient Soil Shop Bloomin' Soil